
Last updated November 15, 2026
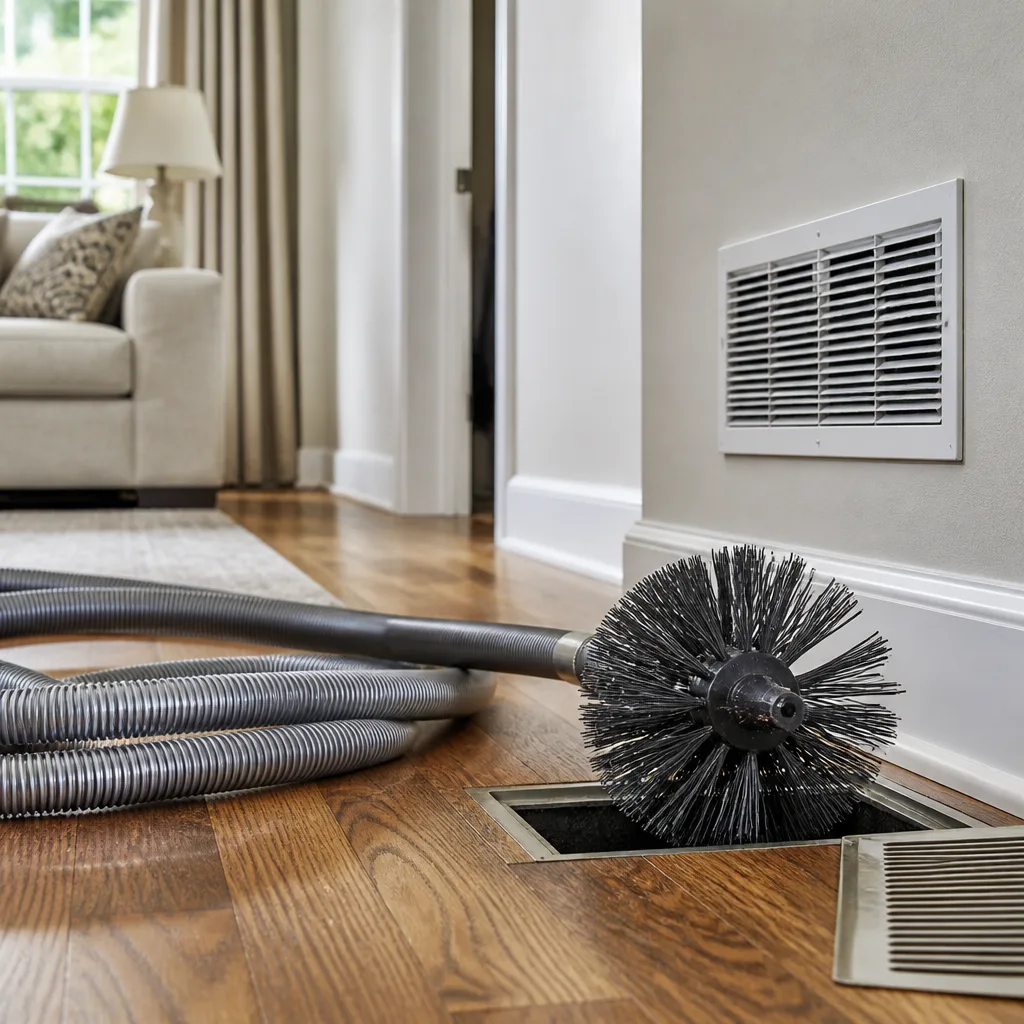 Whole-home duct cleaning
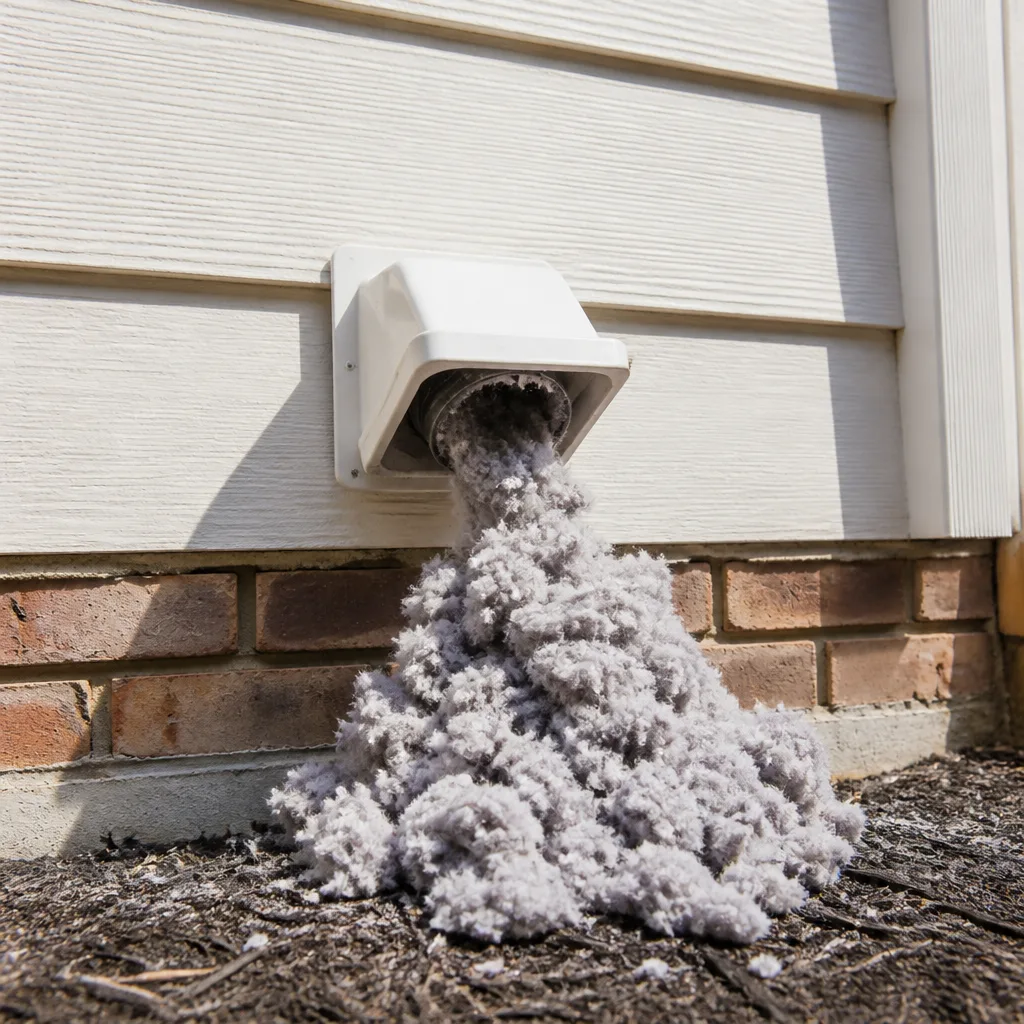 Dryer vent cleaning
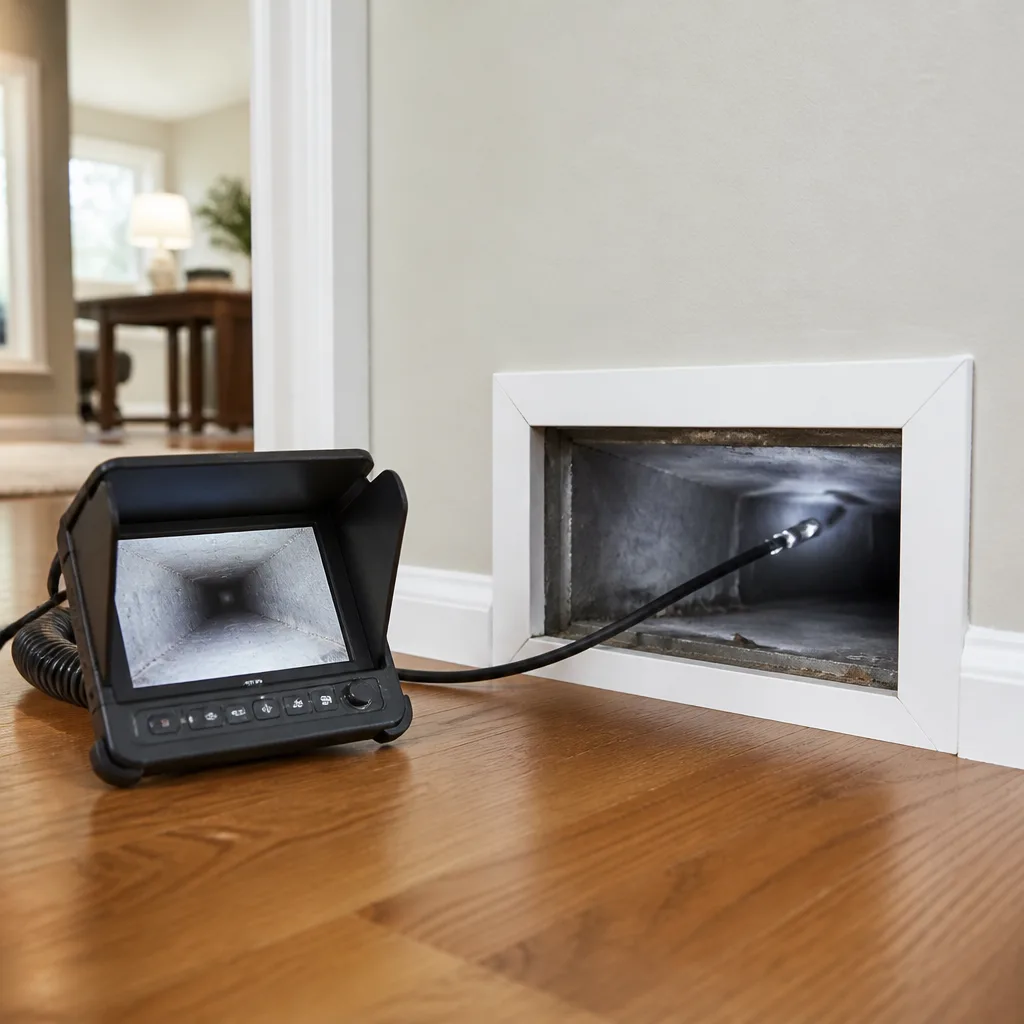 Camera inspection
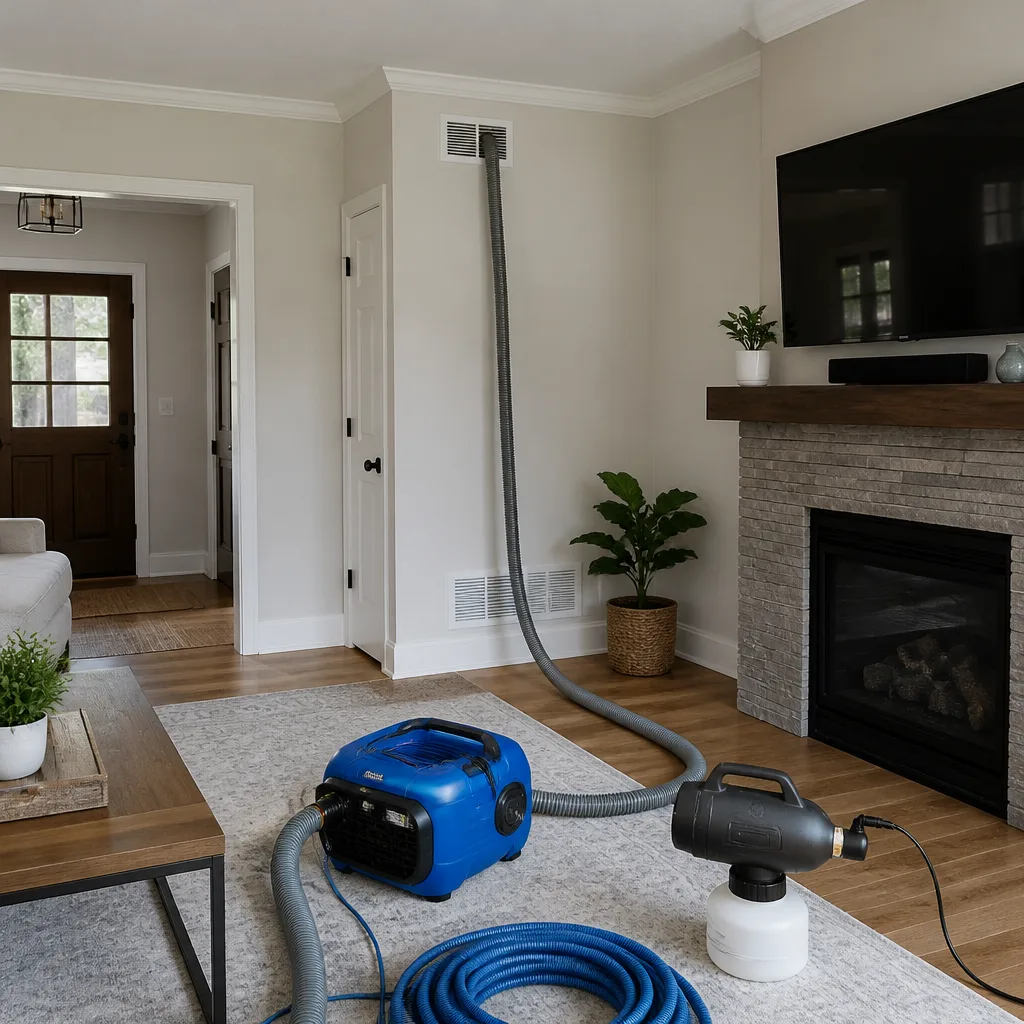 Sanitizing & deodorizing
Whole-system duct and dryer vent check with before-and-after photos - you see exactly what came out of your vents
That "$99 whole-house special" is a bait ad - the real number appears once they are in your hallway, or the "clean" is a shop-vac at the register. We photograph the inside of your ducts before and after instead.
Air Duct Cleaning Maintenance Schedule: What to Do and When
Most homeowners searching for a duct cleaning schedule find the same line repeated across the internet: ducts don’t need cleaning on a regular schedule. That guidance comes from older federal language written for a much narrower set of housing conditions than exist in Nampa today. Open-cell spray foam construction, tightly sealed new builds, high-dander households with multiple pets, and the Treasure Valley’s seasonal dust and agricultural burn cycles all shift the math. A fixed three-to-five year rule pulled from HVAC marketing material doesn’t account for any of it. What actually works is a layered schedule: filters you check yourself, visual inspections you can do monthly, and professional extraction timed to your home’s specific variables. This guide lays out that schedule month by month, explains how construction type and occupancy change the timeline, and shows you how to document duct condition so you’re never guessing.
Quick Answer
There’s no universal interval. A typical Nampa home with forced-air heat, standard filters, and no unusual dander load benefits from professional duct cleaning every three to five years, with a visual inspection once a year. Homes with multiple pets, recent remodels, smokers, or diagnosed allergy sufferers should shorten the professional cycle to every two to three years and inspect twice a year. Filter changes happen every one to three months regardless, and register wipe-downs monthly. The schedule is a stack of habits, not a single appointment.
Styles & brands we work with
- Whole-home duct cleaning
- Dryer vent cleaning
- Camera inspection
- Sanitizing & deodorizing
Table of Contents
- Why the Generic “Clean Every Few Years” Advice Falls Short
- A Month-by-Month Duct Maintenance Calendar for Nampa
- How Nampa Housing Stock Changes the Schedule
- The Occupancy Variables That Actually Move the Timeline
- What You Can Do Yourself and Where DIY Backfires
- A Step-by-Step Visual Inspection You Can Do in Fifteen Minutes
- How to Document Duct Condition Over Time
- When Professional Cleaning Is the Right Call
Why the Generic “Clean Every Few Years” Advice Falls Short
The Environmental Protection Agency’s widely quoted position on duct cleaning is that ducts don’t need to be cleaned on a regular basis, and that’s technically accurate in a home with clean air entering and no contamination source. The problem is the second half of that sentence, which almost nobody reads: ducts should be cleaned when there’s a source of contamination, visible debris, or a performance problem. In Nampa, those conditions show up more often than the broad guidance implies.
Here’s what the older language doesn’t account for:
- Open-cell spray foam construction. A modern Nampa home sealed to current energy standards has very low natural air exchange. Debris that used to escape through draft paths now circulates through the HVAC system until it lands. Tighter houses concentrate whatever is in the ducts.
- Agricultural dust cycles. The Treasure Valley sits in a working agricultural basin. Spring field preparation and fall harvest push fine particulate into outdoor air. Intakes pull it in, filters catch some of it, and the rest settles on duct walls.
- Winter burn season. Wood smoke and residential burning during cold months add another particulate load that finds its way into return air.
- New construction dust. Nampa’s building permit volume means a lot of homes are inside their first few years of occupancy, a period when drywall dust, framing debris, and construction particulate work through the system.
- High-dander living. Pet ownership rates are high in this part of Idaho. Dander is sticky and clings to duct walls far longer than loose dust.
The practical takeaway: treat the generic advice as a starting point, not a rule. Your specific home in Nampa sits inside a specific climate, a specific construction era, and a specific household composition. All three matter more than a national average. For the technical side of what that cleaning actually involves, our air duct cleaning page walks through the equipment and process in detail.
A Month-by-Month Duct Maintenance Calendar for Nampa
The most useful schedule is one that spreads small tasks across the calendar so nothing stacks up. In Nampa, the seasonal logic is straightforward: dust and pollen peak in spring, smoke and dryness dominate late summer into early fall, construction dust peaks in the busy building months, and winter runs the furnace continuously for four months straight. Here’s how to map maintenance to that rhythm.
Spring (March through May)
- Filter check: inspect every four weeks. Spring pollen fills filters quickly.
- Register wipe-down: damp rag on every supply and return grille. If the grille surface is visibly gray within a month, note it.
- System run check: listen at registers for rattles, whistles, or uneven airflow between rooms.
- Outdoor intake: clear the fresh-air intake screen of cottonwood and pollen debris.
Summer (June through August)
- Filter check: every six to eight weeks if you run AC continuously.
- Register wipe-down: monthly. Return grilles pull in more in cooling season.
- Cooling coil proximity: if the air handler sits in a garage or crawlspace, verify nothing obstructs airflow at the unit.
- Dryer vent: pull lint from the trap every load, and check the flexible transition behind the dryer for sagging. Late summer is a good time for a full dryer vent line check.
Fall (September through November)
- Filter check: monthly. Smoke and field dust are both in the air.
- Pre-heating-season inspection: turn the furnace on and check for dust puffs at registers on the first run. A puff is normal. Persistent dust is a signal.
- Register wipe-down: monthly, with attention to return grilles near floor level.
- Duct visual inspection: pull a register or two and look inside with a flashlight. Note color and texture of any visible dust film.
Winter (December through February)
- Filter check: monthly. Continuous furnace operation loads filters fast.
- Register wipe-down: every two weeks. Heated air carries fine dust and it re-settles on grilles.
- Humidity check: low indoor humidity in winter makes dust airborne. A whole-home humidifier can help; that’s separate from duct cleaning but worth thinking about.
- Dryer vent: lint traps cleaned every load; full vent check no less than annually.
This calendar is a routine. The professional cleaning interval sits on top of it, and that interval depends on your specific house.
How Nampa Housing Stock Changes the Schedule
Nampa’s housing inventory is split roughly between older established neighborhoods and newer subdivisions, and the two behave very differently as duct systems. Older homes often have flexible duct runs added during retrofits, or original galvanized metal with decades of accumulated film. Newer builds tend toward rigid metal trunk-and-branch systems with tighter seals and cleaner interior surfaces. The cleaning schedule and inspection method should match what’s actually in the walls.
Older Nampa homes (flex duct and retrofit runs)
Flexible duct is corrugated plastic surrounding a wire coil, and that corrugation traps debris. In older homes along the central neighborhoods near downtown Nampa and the established streets around Lakeview Park, we frequently find flex runs with visible dust coating the troughs between coils. That debris doesn’t lift out with a quick vacuum; it needs contact cleaning with a rotary brush head. Flex duct also suffers from sagging and disconnected joints when it’s been installed poorly, which means the cleaning schedule should include a joint inspection. If a run has collapsed or come apart at a fitting, cleaning alone won’t fix the problem. Our duct repair capability exists for exactly this reason: we diagnose and repair the run on-site rather than documenting it and moving on. Nampa homes in the older grid deserve inspection roughly twice as often as newer builds.
Newer builds (rigid metal)
Rigid metal duct seals better and accumulates film more slowly. The exception is the first two to three years after construction, when drywall dust and construction particulate work through the system. New homes should get one professional cleaning after move-in and then move onto the longer interval. In the fast-growing subdivisions on the north and west sides of Nampa, this post-construction cleaning is one of the most common jobs we do.
Mixed construction
Remodels often leave a house with a mix of old galvanized trunk and new flex branches. These are the trickiest to schedule. Each section of the system has to be inspected on its own merits, and the cleaning interval should match the weakest section.
The Occupancy Variables That Actually Move the Timeline
Two houses of the same age, same size, and same construction type in Nampa can need very different cleaning intervals. What separates them is occupancy. These are the variables we ask about before scheduling work.
- Pets. One dog or cat roughly doubles the dander load. Two or more, especially if they shed heavily, cut the effective cleaning interval by about a third. Dander is fine, sticky, and coats duct walls in a way that ordinary household dust does not.
- Smokers. Indoor tobacco smoke leaves a tar film on duct surfaces. This film traps dust and holds odor. A smoking household should shorten the interval by roughly half and treat professional cleaning as a priority rather than a routine.
- Recent remodels. Any remodel that opens walls, cuts drywall, or replaces flooring pushes fine particulate into the return air. Drywall dust is uniquely abrasive to HVAC components. One professional cleaning after any major remodel is not optional.
- Allergy diagnoses. If anyone in the house has been diagnosed with asthma or environmental allergies, the target is a lower debris baseline rather than a routine maintenance interval. That means a shorter interval and stricter filter discipline.
- Young children. Their respiratory systems are more sensitive to airborne particulate. The practical response is a modestly shorter interval and more frequent filter changes.
- Occupancy changes. A new pet, a new baby, a home office added, a family member moved in: all of these adjust the schedule. It’s not a set-and-forget rule.
One more variable worth noting: homes with whole-home humidifiers or high-MERV filtration tend to hold a cleaner duct baseline, but they also require more maintenance attention on the equipment itself. We work with dryer vent cleaning as a separate safety line item and with Honeywell and Aprilaire products for homes that want to improve filtration or humidity control in the same visit. That’s a decision about the air handling system, not the ducts, but the two interact.
What You Can Do Yourself and Where DIY Backfires
There’s a meaningful difference between routine maintenance a homeowner should do and cleaning work that has to be done by a professional. The line matters for two reasons: doing professional work yourself can damage the duct system, and doing it poorly can redistribute debris rather than remove it.
Genuinely-appropriate DIY tasks
- Filter replacement. Check monthly, replace every one to three months depending on filter rating and dust load. Match the MERV rating the system was designed for; higher isn’t automatically better if the blower wasn’t sized for it.
- Register and grille wipe-down. Damp rag on the surface of every grille. Top and bottom edges get the most buildup.
- Outdoor intake cleaning. Remove leaves, cottonwood, and pollen debris from the fresh-air intake screen.
- Dryer lint trap. Clean it every load. This is the single most important preventive habit in the house.
- Visual inspection. Flashlight into registers to see the visible state of the duct. Covered below.
Where DIY causes real damage
Consumer shop vacuums and box-store duct brush kits can cause damage that costs more than a professional cleaning would have. The specific problems:
- Punctured flex duct. A rigid brush pushed through a corrugated flex run catches on the coil and tears the liner. That tear is a permanent leak, and it means a duct replacement, not a cleaning.
- Disconnected joints. Consumer equipment doesn’t have the suction control professionals use, so pulling debris out of a joint can pull the joint apart.
- Blown debris. A shop vac with inadequate filtration recirculates fine dust straight back into the house. The air is worse than before you started.
- Coil damage. Pushing tools past a register into a branch that turns into the air handler can reach the evaporator coil. Bending coil fins affects system performance for years.
- Lost tools. Consumer duct brushes fall off the line inside the run, and now the duct has an obstruction.
The professional equipment exists for a reason. We use Nampa Duct Cleaning‘s professional-grade systems from Rotobrush and Nikro, which combine rotary brush contact cleaning with HEPA-rated extraction so debris is physically dislodged and captured instead of redistributed. That’s what you can’t replicate with a shop vac and a brush kit.
A Step-by-Step Visual Inspection You Can Do in Fifteen Minutes
The purpose of an inspection is documentation, not cleaning. You want to know the current state of the ducts so you can compare it later. Do this once every six months for the first couple of years, then yearly if conditions are stable.
- Gather materials. Bright flashlight, a clean white cloth, a phone camera, and a notepad or notes app. Optional: a step stool reach safe for your height.
- Start at the return. The return grille pulls in the most debris. Remove the grille (usually two screws) and shine the flashlight inside. Point the phone camera at a consistent angle and take a photo.
- Note the visible state. Three categories: clean (you can see the duct material clearly), dusty (visible dust film but the material shows through), or fouled (dust has built up in visible clumps or coating thickness).
- Move to individual supply registers. Pick two or three rooms. Pull the grille and photograph inside.
- Check grille edges. Wipe a cloth along the inside edge of each grille. Gray residue is normal; black, greasy, or sticky residue is not.
- Listen for airflow. Turn the system on. At each register, hold your hand near the grille. Note any register that feels noticeably weaker than others. That’s a signal of a possible duct problem, not just a dirt problem.
- Check the air handler area. If you can safely reach the unit, note whether there’s visible debris around the blower compartment opening. Do not open the unit itself if you’re not trained for it.
- Photograph and file. Save the images with dates in a folder. This is the beginning of your documentation record.
If anything during the inspection looks like a safety issue (loose connections, a collapsed run, mold-like growth, or pest evidence), stop and call a professional. Those situations need trained eyes.
How to Document Duct Condition Over Time
The reason to document is simple: without a record, the only information you have when deciding whether cleaning is overdue comes from memory or from whatever a salesperson tells you on a service visit. Neither is a good baseline. A simple documentation file solves that.
Here’s what to keep:
- Photos. One return, two supplies, consistent angles, once every six months. The change over time is what matters, not any single image.
- Filter log. Date, MERV rating, and approximate visible load at replacement. Three words per entry is enough.
- Service record. Any professional work, with the date and what was done. We provide before-and-after photos after every cleaning, which becomes part of the record.
- Occupancy notes. New pet, remodel completed, family member diagnosed with asthma. Anything that changes the debris load, note it.
- Observations. “Return grille showed black film on inside edge, March” is a useful entry. “Ducts dirty” is not.
With two years of photos and filter logs, the question of whether cleaning is overdue becomes obvious. If the supply register photo from this year looks meaningfully worse than the one from two years ago, you’re past the interval. If it looks the same, you’re not. This is the tool that removes the sales pressure from the decision.
See the difference
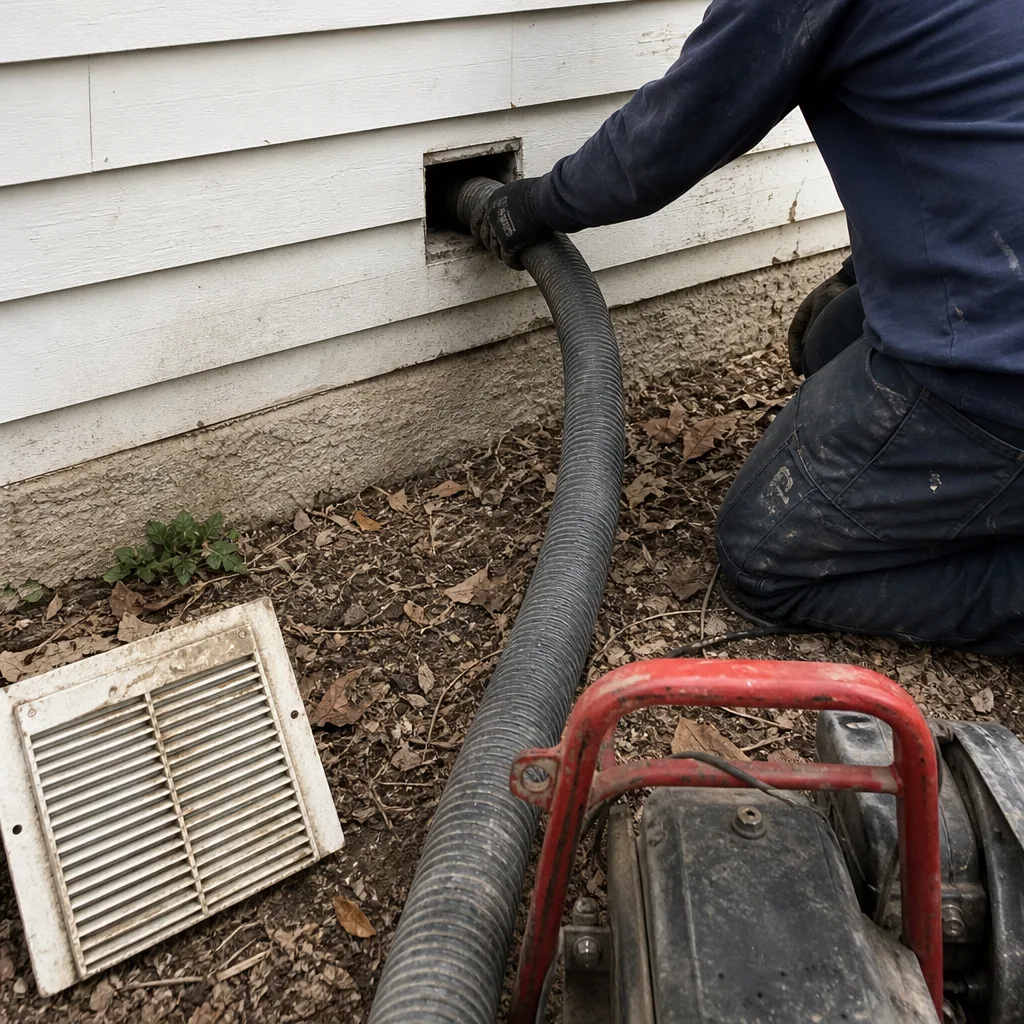 Before
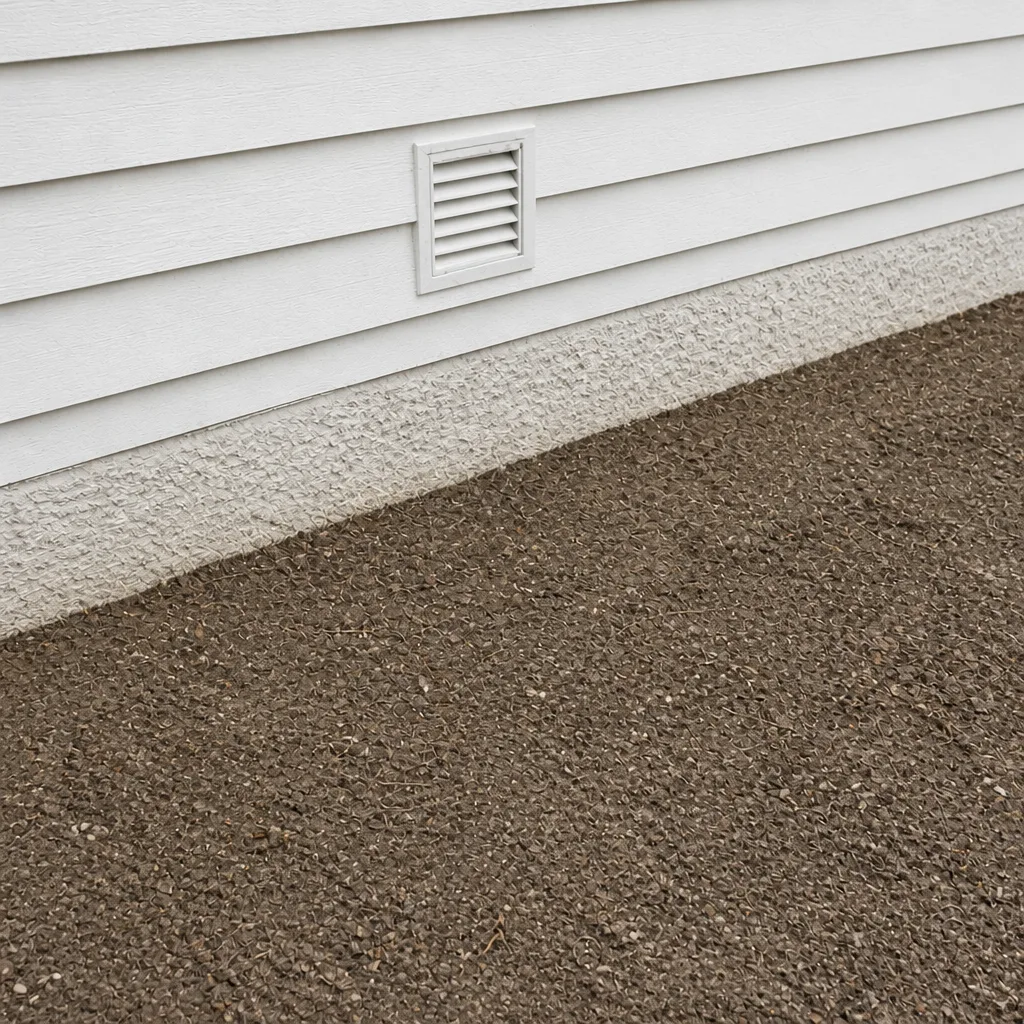 After
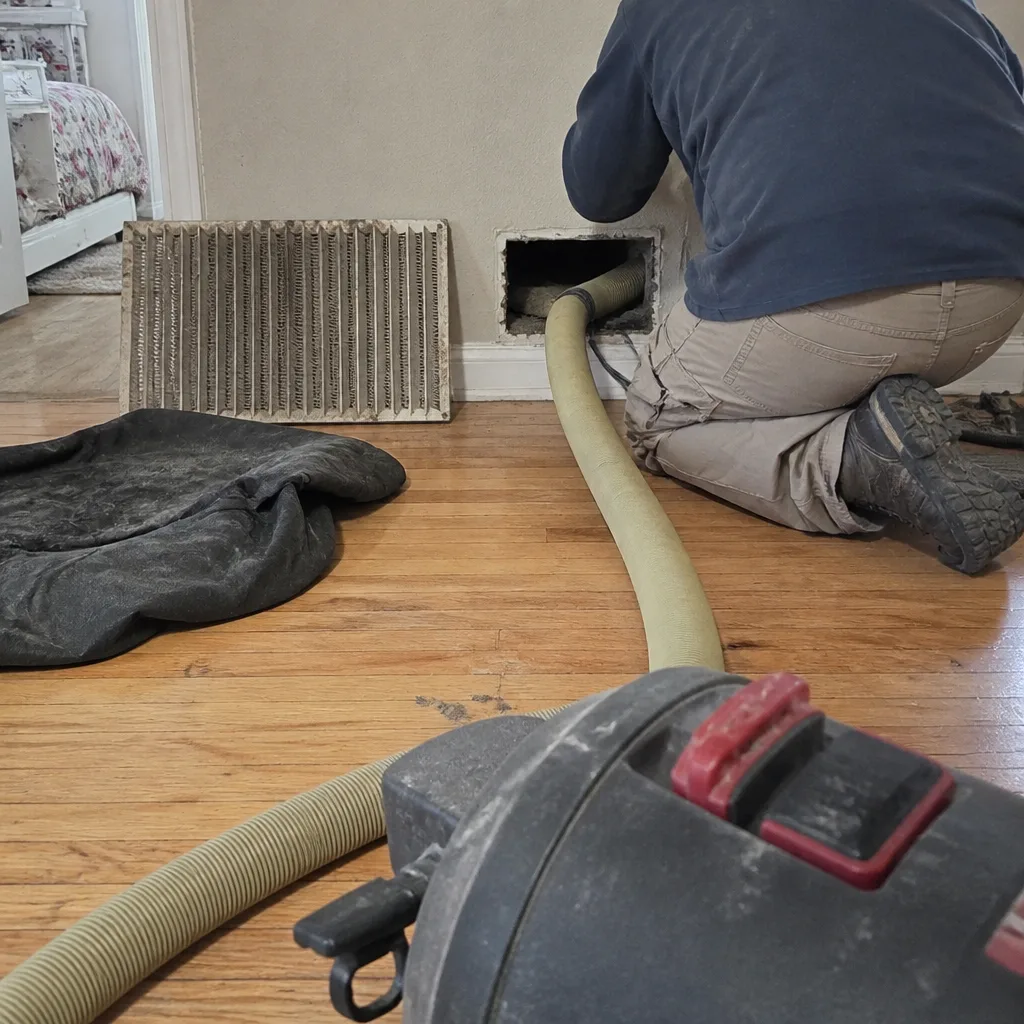 Before
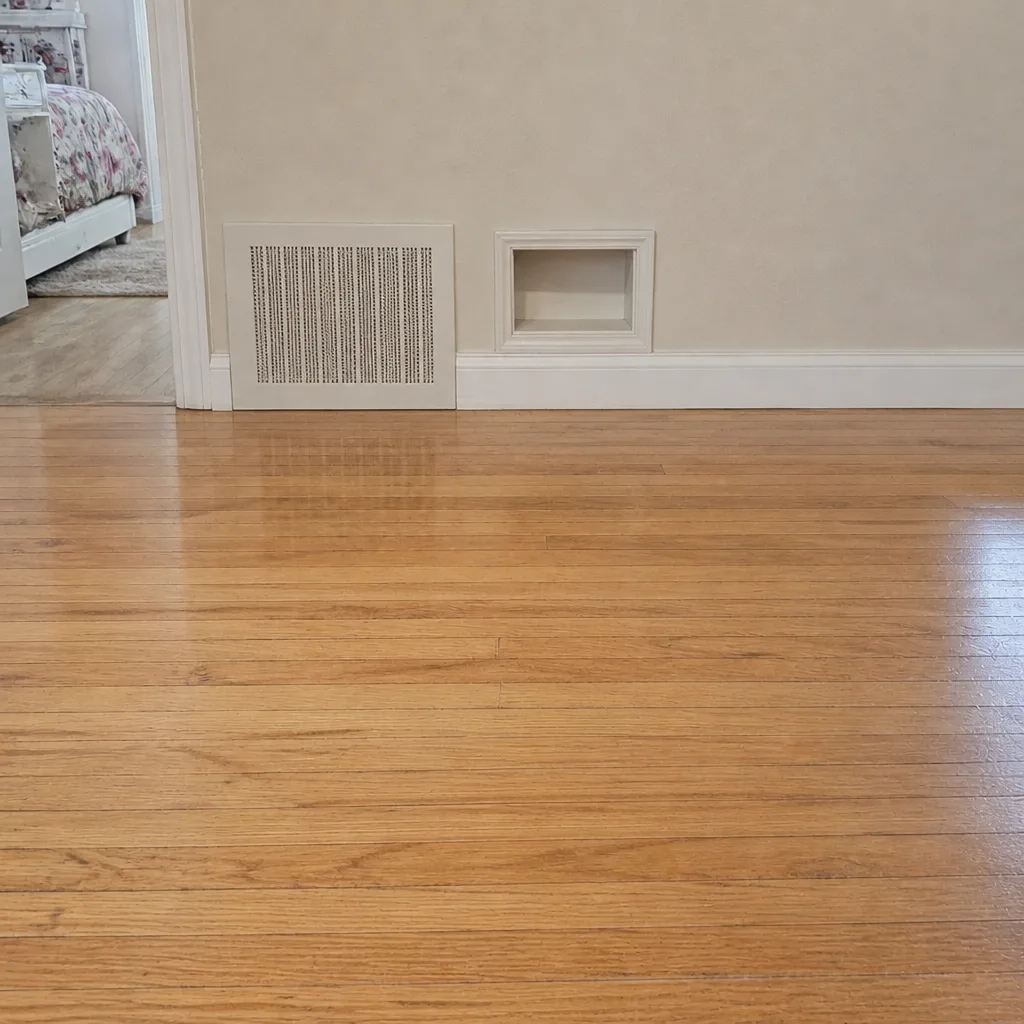 After
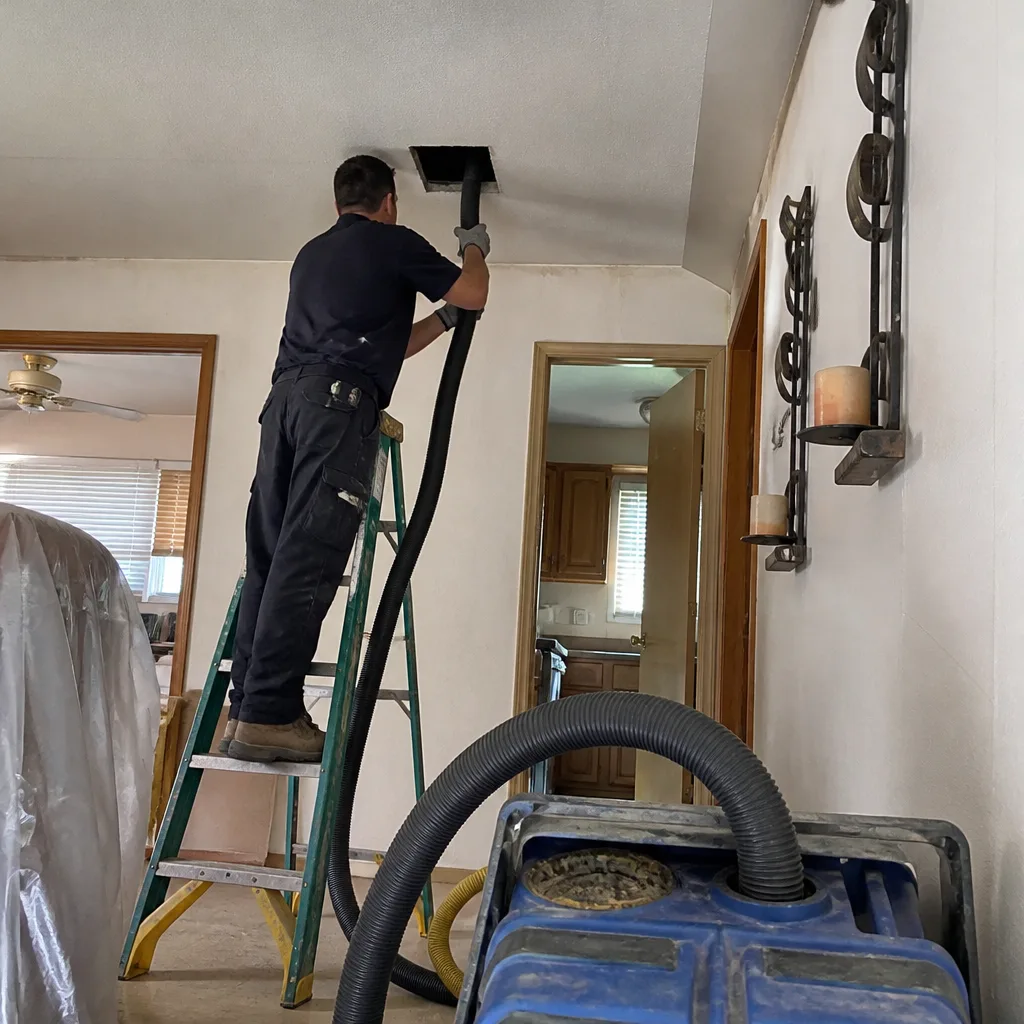 Before
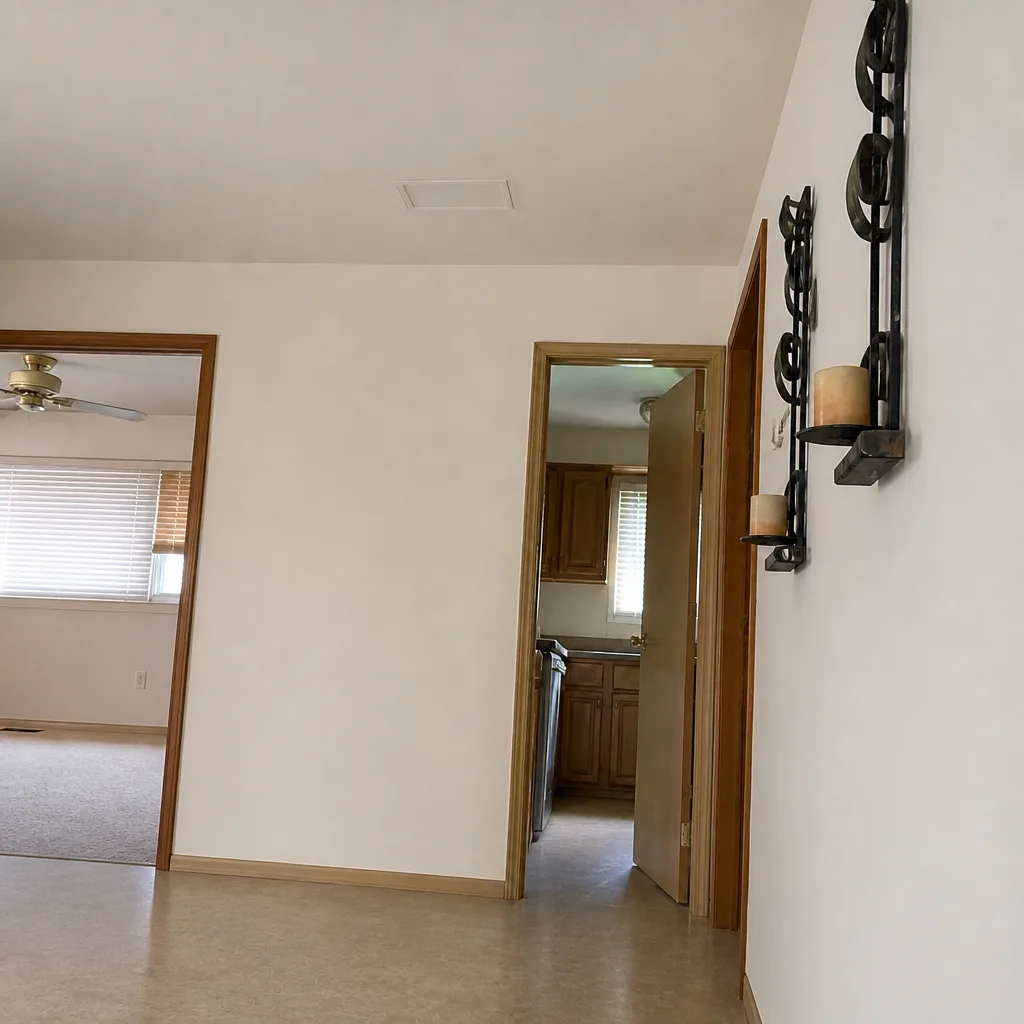 After
Common Mistakes to Avoid
- Following the “every three to five years” rule blindly. The number was never meant to be universal. It ignores pet load, construction type, and local dust cycles. Use it as a starting point and adjust from there.
- Replacing filters less often because they “don’t look that dirty.” Filters load from the inside. A filter can look gray on the surface and be clogged with fine particles. If the airflow is weak, replace it regardless of how the face looks.
- Ignoring the return grille. The return pulls the most debris and is the least-cleaned surface in most Nampa homes. Wipe it monthly, not annually.
- Assuming the AC tune-up covers the ducts. HVAC maintenance is about the mechanical system. Duct cleaning is a separate discipline with separate equipment. A tune-up doesn’t clean duct walls.
- Skipping the dryer vent. Lint accumulation is a fire hazard independent of duct cleanliness. Annual dryer vent line checks are a separate line item from HVAC duct cleaning for a reason.
- Not documenting. Without photos, you’re relying on someone else’s word for what’s in the ducts. That’s exactly the reliance the bait-and-switch industry depends on.
- Hiring on coupon price alone. A low teaser price disappears once the technician is on site. Ask for the whole-system scope and flat price before scheduling.
- Assuming new construction doesn’t need cleaning. The first two to three years after a build is the heaviest dust-load period the duct system will ever see. homes in Nampa‘s new subdivisions
When Professional Cleaning Is the Right Call
There are signs that make the decision easy. Visible dust coating inside supply registers after you wiped them clean a few weeks ago. A musty or stale smell that drifts out when the system first kicks on. Uneven airflow between rooms. Anyone in the house whose allergy symptoms spike when the heat comes on. Any recent remodel. A pet population of two or more. A dryer that takes longer than it used to. A dryer vent line that hasn’t been checked in more than a year. The drywall-dust period after a new build. Each of these is a signal, and combined, they’re a clear one.
Nampa Duct Cleaning offers free estimates in Nampa. We work with the assessment equipment to see what’s actually inside the ducts, and we quote a flat price per system instead of a per-vent number. If we find damage (a collapsed flex run, a disconnected joint, a punctured liner), duct repair is part of what we do on the same visit. Call (833) 842-1697 for a free estimate. We answer 24/7. Fast dispatch from 7am to 7pm, Sunday through Friday.
Frequently Asked Questions
A typical Nampa home with no unusual conditions benefits from professional cleaning every three to five years, with a yearly visual inspection. Homes with multiple pets, smokers, diagnosed allergies, recent remodels, or new construction shorten that to every two to three years. The interval depends on your specific house, not a national average.
Yes. Spring field preparation and fall harvest push fine particulate into outdoor air, and the HVAC fresh-air intake pulls it in. Filters catch most of it, but the remainder settles on duct walls. Nampa homes near the edges of the valley, where wind-driven dust is heavier, often need the shorter end of the interval. Homes on the west side in newer subdivisions tend to see more construction dust than agricultural dust.
No, and we don’t recommend trying. Consumer vacuums don’t have HEPA-grade filtration, so they recirculate fine dust into the house. Consumer brushes can tear flex duct liners and disconnect joints. Professional equipment exists because this is an extraction and containment discipline, not a vacuuming task.
Yes. The first two to three years after a build is the heaviest dust-load period for the duct system, because drywall dust, framing debris, and construction particulate work through it. Getting one professional cleaning in the first year after occupancy resets the baseline before it accumulates.
Ask for before-and-after photos of your own ducts. Any cleaning company can claim to have cleaned the ducts; photos are the only way to verify. We provide photos as a standard part of every job, which also feeds into your documentation file.
It’s a separate service, and it needs to be. The dryer vent is an exhaust line, not a supply or return, and the fire hazard it presents requires its own scope of work. We offer it as a dedicated service so it doesn’t get tacked on as an upsell. Annual dryer vent checks are the standard interval for most households.
The Bottom Line
Duct maintenance in Nampa works best as a layered schedule: monthly filter checks and register wipe-downs, twice-yearly visual inspections with photos you keep, and professional cleaning on an interval tuned to your specific house. That interval is shorter for pet-heavy, smoking, allergy-affected, recently-remodeled, or newer-construction homes, and longer for stable, low-dander, mature-build households with rigid metal duct. Document what you find so you’re not dependent on memory or a salesperson’s word. And when something looks like a damage problem rather than a dirt problem, call someone who can repair it. One visit covers HVAC duct cleaning, dryer vent cleaning, and any ductwork repairs that need doing. Call (833) 842-1697 for a free estimate. We answer 24/7. Fast dispatch from 7am to 7pm, Sunday through Friday.
Written by the team at Nampa Duct Cleaning.