
Last updated November 15, 2026
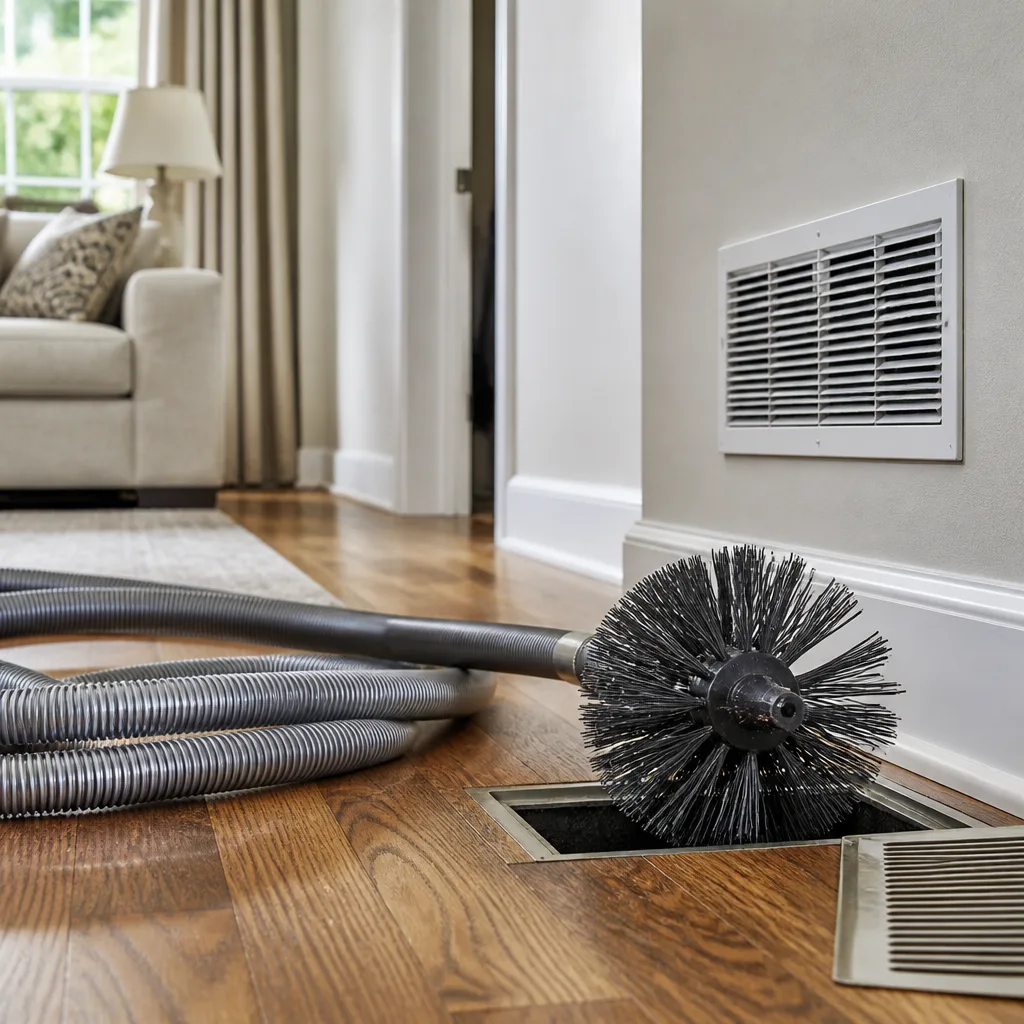 Whole-home duct cleaning
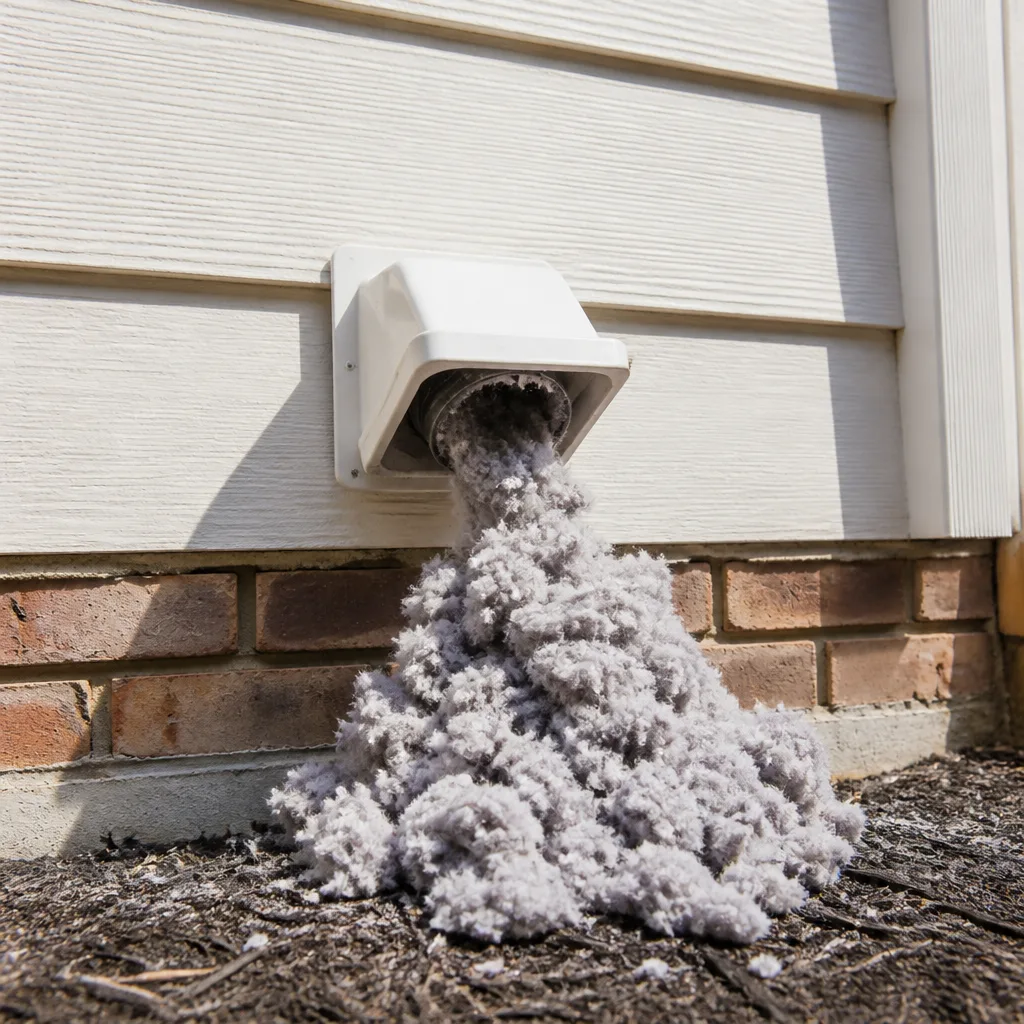 Dryer vent cleaning
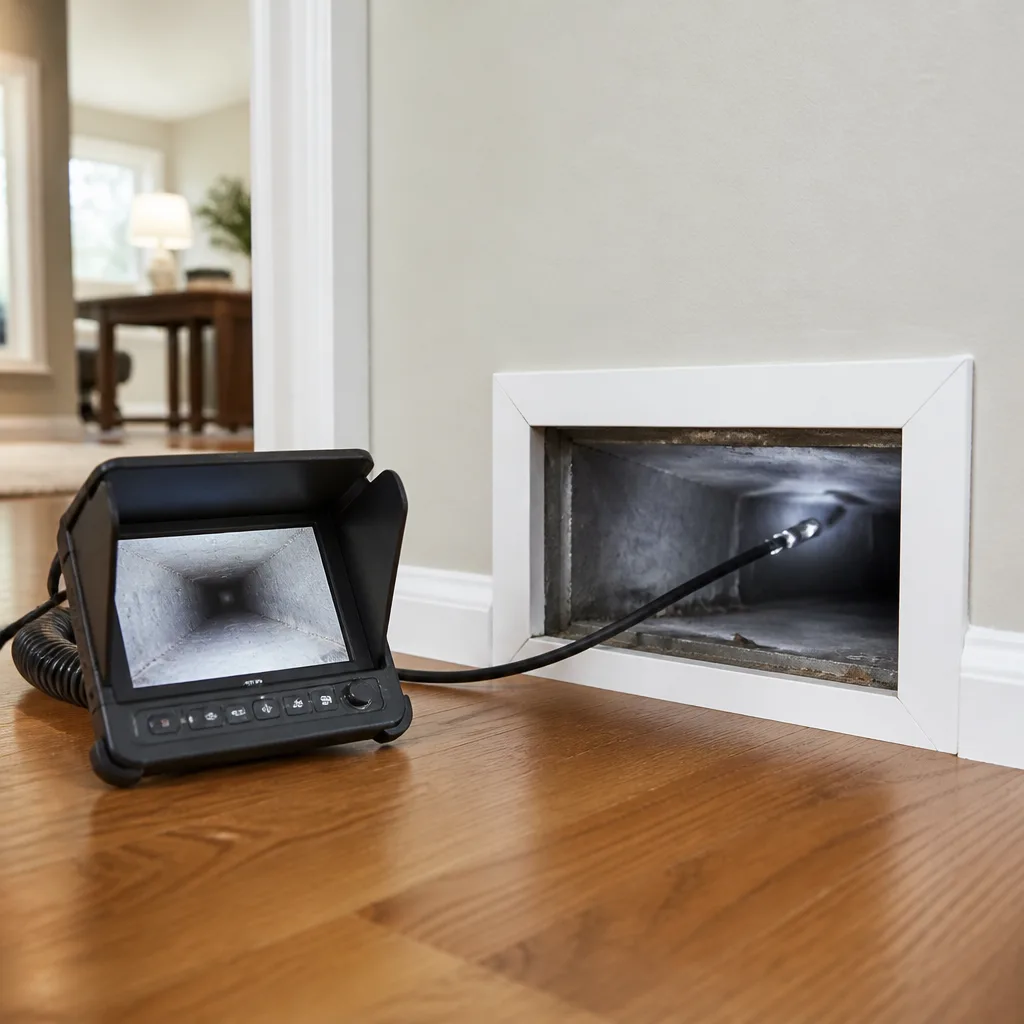 Camera inspection
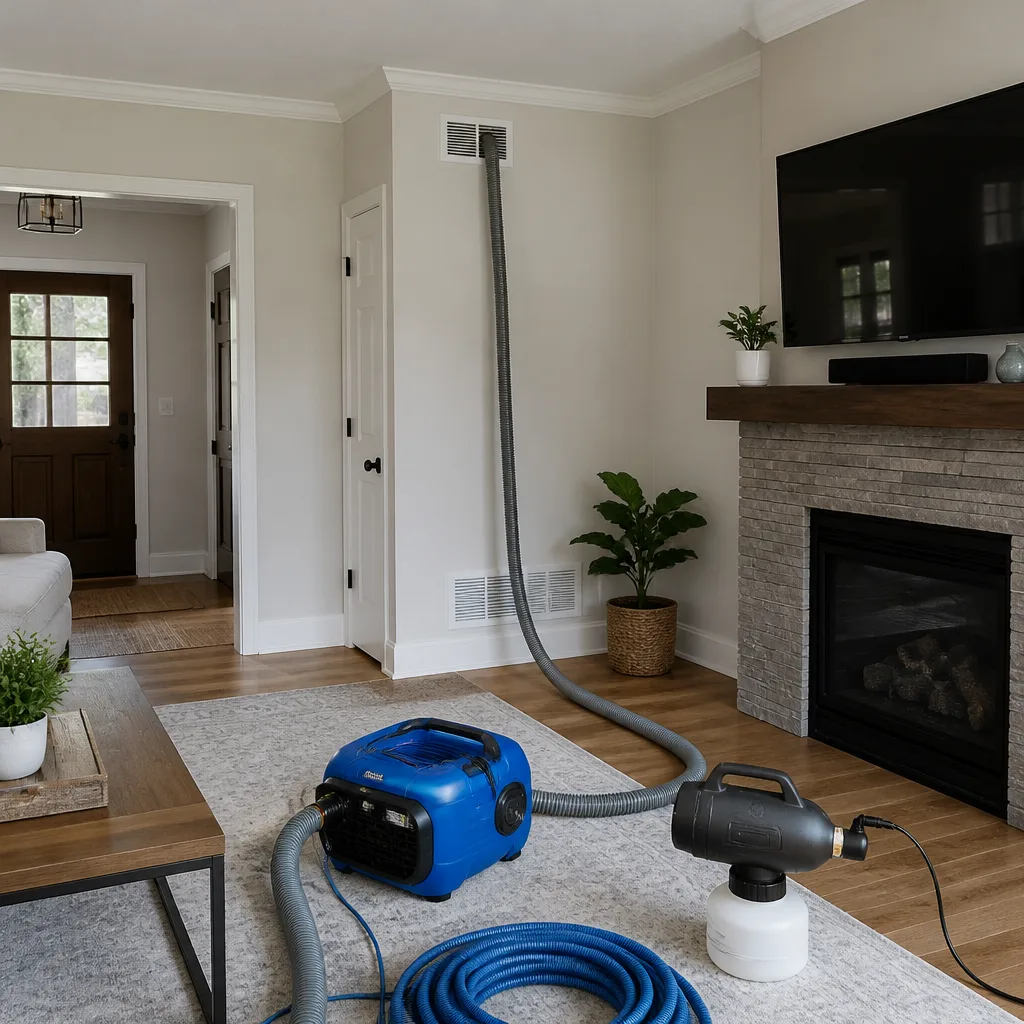 Sanitizing & deodorizing
Whole-system duct and dryer vent check with before-and-after photos - you see exactly what came out of your vents
That "$99 whole-house special" is a bait ad - the real number appears once they are in your hallway, or the "clean" is a shop-vac at the register. We photograph the inside of your ducts before and after instead.
Air Duct Cleaning Maintenance Checklist for Nampa Homeowners
Replacing the filter is the one duct maintenance task almost every homeowner actually does, and on its own it doesn’t keep a duct system clean. A clogged return grille, a flex run that has slipped off its collar behind a wall cavity, or a length of duct liner breaking down from the inside can undo a professional cleaning within a single heating season, and not one of those problems shows up on a filter. What separates a duct system that stays clean from one that quietly degrades is whether anyone is watching five observable indicators between visits. This guide is the checklist we’d hand a Nampa homeowner who wants to track those indicators month to month, season to season, and know exactly when something needs a professional look.
Quick Answer
A practical air duct maintenance checklist for a Nampa home has three rhythms: monthly checks of register airflow, return grille condition, filter state, and any new odors after startup; quarterly checks timed to Nampa’s fall dust season and late-summer wildfire smoke; and annual pre-season checks before each heating and cooling switchover. Log what you observe so a technician can read the trend, not just the current snapshot. Anything involving debris inside the duct interior, separated joints, or damaged liner belongs with a professional.
Styles & brands we work with
- Whole-home duct cleaning
- Dryer vent cleaning
- Camera inspection
- Sanitizing & deodorizing
Table of Contents
- Why Filter Changes Alone Don’t Maintain Duct Cleanliness
- The Monthly Homeowner Checklist
- Quarterly Checks Built Around Nampa’s Seasons
- The Annual Pre-Season Walkthrough
- How to Document System Condition So Trends Show Up
- What to Escalate vs. What You Can Handle Yourself
- What a Professional Inspection Actually Checks
- Why Duct Repair Belongs on a Maintenance Checklist
Why Filter Changes Alone Don’t Maintain Duct Cleanliness
A filter catches what reaches it. That sounds obvious, but it’s the reason so many well-maintained homes still end up with dirty ducts. Air moves through the return grilles, into the return trunk, through the filter at the air handler, and out through the supply runs. Debris that settles in the return trunk, in the branches, or along the walls of a supply run never touches the filter at all. A homeowner who swaps filters on schedule can still have a return plenum coated in dust and a supply run lined with lint.
Nampa adds a few complications that make this more than a theoretical point. The Treasure Valley sits in a basin where smoke from regional wildfires can settle for stretches in late summer, and agricultural dust from surrounding farmland moves through the air in fall. Both get pulled into return grilles along with the normal household load of pet hair, cooking residue, and fabric fibers. This is the reason we treat air duct cleaning as a contact-cleaning job, not an air-blast job: the debris that matters is adhered to duct surfaces, and only mechanical contact dislodges it.
The three failure modes a filter can’t catch
- Debris in the return trunk. Return air carries the heaviest particle load and the trunk often runs through unconditioned or semi-conditioned space where condensation can make dust stick.
- Flex runs that have separated at a collar or joint. A gap of a quarter inch pulls attic or crawlspace air straight into the supply stream. The filter never sees it.
- Liner breakdown. Many older duct systems in the Nampa area use internally lined flex or insulated rigid duct. When the liner starts to fray or flake, it introduces fibers into the airstream and no filter swap fixes that.
None of these three show up in a filter inspection. All three do show up if you’re looking at the right indicators on a monthly basis.
The Monthly Homeowner Checklist
The monthly list is short by design. You’re not maintaining the duct system yourself; you’re collecting evidence about how it’s behaving. Four observations, five minutes, once a month. Do them on the same weekend each month so the comparison means something.
1. Register airflow check
With the system running on fan-only, hold your hand or a tissue in front of each supply register in the house. Note the strength of the flow at each one. What you’re looking for is consistency between registers and consistency month to month. A single register that’s gone weak while the others are strong usually means a problem isolated to that branch: a partially closed damper, a collapsed flex run, or debris built up in that line. Every register going weak together points back to the filter, the air handler, or the return side.
2. Return grille visual inspection
Pop the return grille off with a screwdriver and look at the face of the filter and the visible interior of the return trunk. Note whether you see lint matting, pet hair, or dust accumulating on the grille fins themselves. A grille that’s visibly loading up between filter changes is telling you the filter isn’t catching everything, which is normal, and that the return side carries the heavier load.
3. Filter condition log
Write down the filter type, the date you changed it, and its condition when you pulled it. “Changed on the first” doesn’t tell you much. “One-inch pleated, mid-grade, changed at 45 days, moderately loaded” starts to build a rate. If your filters are loading in three weeks instead of eight, something is putting more particulate into the return than it used to.
4. Odor changes after HVAC startup
The first minute of airflow after the system has been off tells you the most about duct condition. A musty or dusty smell that fades after a few minutes is common and usually means settled dust is being disturbed. A stronger odor that persists, or a smell that wasn’t there last month, deserves attention. If it’s damp or moldy in character, that’s a moisture indicator and worth a call.
Quarterly Checks Built Around Nampa’s Seasons
Not every month in Nampa looks the same in terms of what’s moving through the air. Three seasonal patterns matter enough to warrant their own checks, and skipping them is how a homeowner misses the buildup that happens in a specific six-week window.
Fall: post-harvest dust season
Late September through October, agricultural dust from the farmland surrounding Nampa gets stirred up and moves through the air. Combined with the first heating startup of the year, this is when return grilles load fastest. Check filter condition at the two-week mark instead of the usual monthly cadence, and pull and inspect the return grille. If the filter is loading faster than usual, that’s the season, not a sudden duct failure.
Late summer: post-wildfire-smoke season
When regional wildfire smoke settles over the Treasure Valley in late summer, fine particulate enters the return airstream in quantities the system wasn’t designed for. Once the smoke clears, replace the filter and inspect the return grille. Smoke season also raises a question worth having answered: whether your filtration is rated for the conditions. This is where a Honeywell or Aprilaire system upgrade becomes a real option rather than a sales pitch, and it’s worth evaluating after a hard smoke season rather than in the middle of one.
Mid-season quarterly: the joint and liner walkthrough
Twice a year, look at every duct joint you can physically see. In a finished basement, that might mean popping access panels. In a crawlspace or attic, it means a flashlight and a careful twenty-minute walk-through. Look for separated connections, crushed runs, and any visible fraying at the liner edges. A separated joint isn’t a cleaning problem; it’s a repair problem.
The Annual Pre-Season Walkthrough
The two switchover points, heating to cooling and cooling to heating, are when a duct system gets stressed by a change in airflow volume and temperature. A walkthrough at each transition catches problems before they become the reason a room isn’t heating.
- Before the heating switchover (early fall). Walk the duct runs you can see. Check every joint for separation. Confirm the filter is fresh. Run the system on fan-only and listen for rattles or whistling that suggests a loose section.
- Before the cooling switchover (late spring). Same walkthrough, with extra attention to any run that passes through unconditioned space. In Nampa’s climate, duct runs in an attic or crawlspace see temperature swings, and condensation on an uninsulated section can soften duct tape and loosen joints.
- Confirm the dryer vent is clear. Not a heating transition task in a strict sense, but a dryer vent check belongs on the same annual checklist because a clogged dryer vent is a fire risk that gets missed when people only think about HVAC. We treat dryer vent cleaning as a standalone safety service for that reason.
- Test your smoke and CO detectors. Belt and suspenders here. If anything in the system is going to backdraft or leak combustion gas, a working detector is the backstop.
Two of those items are yours to do. Two are professional milestones: the duct run inspection and the dryer vent cleaning. Do them on the same visit and you’ve covered the whole system in one appointment.
How to Document System Condition So Trends Show Up
A contractor looking at your ducts once a year sees a snapshot. A contractor looking at your notes sees a trend. The difference is significant because rate of fouling tells you far more than current condition: clean ducts with heavy fouling over the last twelve months is a more useful observation than moderately dirty ducts with low fouling.
The documentation system that actually gets used
Keep a single page, either paper taped inside a utility closet or a note on your phone. Five columns:
- Date of observation
- Register airflow note (“all strong,” “master bedroom weak,” “kitchen strong, den moderate”)
- Return grille condition (“clean,” “light lint,” “matting at bottom edge”)
- Filter type and change date
- Odor note (“none,” “brief dust smell on startup,” “persistent throughout”)
Every professional duct inspection should produce its own row: the date, what was found, and a before-and-after record of what was cleaned. If the technician provides before-and-after photos of your own ducts, which any credible operator should, staple or save those alongside the log. That’s what makes the trend legible. A year from now, you’ll be able to say “return grille loading twice as fast as last year” instead of “I think it’s getting worse.”
What we look for in a documented system
When we inspect a system with a homeowner’s log in hand, we can cut straight to the right questions. If fouling doubled over one heating season, the likely cause is a joint separation upstream of the air handler pulling dust-laden air into the return. If a single branch went from strong to weak, we look at that branch first. This is why our technicians have up to 13 years of experience and still ask for your notes: the observations you make before a call mean the inspection is targeted rather than exploratory.
What to Escalate vs. What You Can Handle Yourself
The line between homeowner tasks and professional tasks in duct maintenance is not the same as “easy vs. hard.” It’s about what’s reachable, what requires equipment to dislodge, and what’s inside the duct interior. Here’s where that line sits.
Handle yourself
- Register cleaning. The face of the grille and the first few inches of supply are yours. Remove the register, wash the grille in a sink or tub, wipe the visible collar. A soft brush on a shop vac works for light dust on the register fins.
- Filter replacement and logging. Consistent filter changes are the single biggest contribution a homeowner makes, and most people under-perform here by changing on time-based schedules instead of condition-based ones.
- Return grille cleaning. The face of the return grille and its fins can be cleaned by hand. Pop it off, wash it, reinstall.
- Visual duct walkthroughs. Looking at joints, checking for crushing, noting liner condition. Your eyes are the cheapest inspection tool you own.
Call a professional
- Interior debris removal. Anything past the register face requires real machine contact, not a shop vac with an extension. We use Rotobrush contact-cleaning equipment and Nikro HEPA-rated machines because the debris in a duct run is adhered and has to be physically scrubbed and captured.
- Separated joints or disconnected runs. A joint gap behind drywall or in a crawlspace is a repair, not a cleaning. It needs to be resealed or the affected run replaced.
- Damaged or collapsed ductwork. Flex runs that have crushed in a tight bay, sections of liner that have failed. Duct repair is part of what we do, not something we hand off.
- Persistent damp or musty odor. A moisture indicator points to a cause that has to be found and repaired, not cleaned around.
- Dryer vent cleaning. The lint trap catches some lint, but plenty builds up in the vent run itself. This is a fire-safety task and belongs on the professional list every year.
Much of the reason people end up needing a full cleaning is that a smaller issue happened quietly. A disconnected run that’s been pulling attic dust for a year leaves a trail even a standard cleaning can address only once you’ve found and fixed the source.
What a Professional Inspection Actually Checks
A real inspection is more than a vacuum running through a register. Here’s what we walk through on every visit:
- Register-to-register airflow test. We test flow at each register and compare it to what the system should be delivering.
- Return side and air handler inspection. The return trunk and the air handler cabinet often tell you more about duct condition than the supply side does.
- Accessible duct run walkthrough. Every visible joint, every bay, every run through a crawlspace or attic. Separated joints, crushing, and liner damage get noted, with photos.
- Interior debris assessment. We look at the duct interior at multiple points to gauge how much has accumulated and where.
- Cleaning with the right equipment. Rotobrush rotary-brush and vacuum systems physically contact the duct walls. We also carry Abatement Technologies HEPA containment and negative-air equipment, the same category of machine used on remediation jobs, because capturing what you dislodge is the whole point.
- Before-and-after documentation. Photos of your own ducts, kept with your log, so next year’s visit has a baseline.
- Air-quality upgrade assessment. We stock Honeywell and Aprilaire products, so if your filtration or humidity control should change, we can assess and install it on the same visit.
Nampa homeowner requests for inspections come up most often in two situations: moving into a home whose duct condition is unknown, and the start of allergy season when someone in the household is reacting. Both are legitimate reasons to get eyes on the system. Neither requires guesswork.
Why Duct Repair Belongs on a Maintenance Checklist
Most duct cleaners vacuum and leave. If they find a separated joint or a crushed run, they note it. A maintenance checklist that ends at “cleaning” is missing the failure mode that most quickly undoes the cleaning.
Duct repair matters because cleaning restores the system to a clean state at a moment in time. Repair is what keeps it there. A quarter-inch gap at a collar in a crawlspace pulls unconditioned, dust-laden air into the supply stream continuously. Clean it today, and by the end of the heating season it’s dirty again. We fix the joint as part of the visit. If we find a disconnected run or a collapsed section, we repair it on-site. Nothing gets deferred to a separate contractor.
Signs a repair, not just a cleaning, is due
- A single register with noticeably weaker airflow than the others
- Visible separation at a duct joint or collar
- Whistling, rattling, or flapping sounds from the duct runs at fan change
- A dusty smell in one room only, even after cleaning
- Duct tape that has visibly loosened at one or more joints
If you’ve observed any of these, the cleaning is a partial fix until the joint or run is addressed. Our Nampa customers who document their observations month to month tend to catch these earlier, because the pattern stands out in a log before it becomes obvious by ear.
Common Mistakes to Avoid
- Changing the filter on a fixed schedule instead of by condition. A filter that’s half-loaded after four weeks and one that’s fully loaded after six deserve different intervals. Check condition, not just the calendar.
- Assuming a dusty supply means the duct needs cleaning. A single dusty room usually points to a joint gap, not to interior buildup across the whole system. The diagnosis is different from the fix.
- Skipping the post-smoke-season filter change. Smoke season loads the filter faster than normal and then stops. Continuing on a normal schedule leaves a loaded filter running longer than it should.
- Cleaning registers but skipping the return grille. The return carries the heaviest load and is the grille most often ignored because it’s less visible than supply registers in the living space.
- Using a shop vac inside a duct run. A shop vac can’t reach more than a few inches, has no HEPA capture, and stirs up the debris it encounters. It makes the system dirtier in the process, not cleaner.
- Treating a musty smell as a cleaning issue. Persistent damp odor is a moisture source that needs to be located and repaired. Cleaning around it doesn’t fix it.
- Not keeping a log. Without documented observations, a professional sees a snapshot. With a log, they can see the rate at which the system is fouling, which makes the diagnosis far more precise.
See the difference
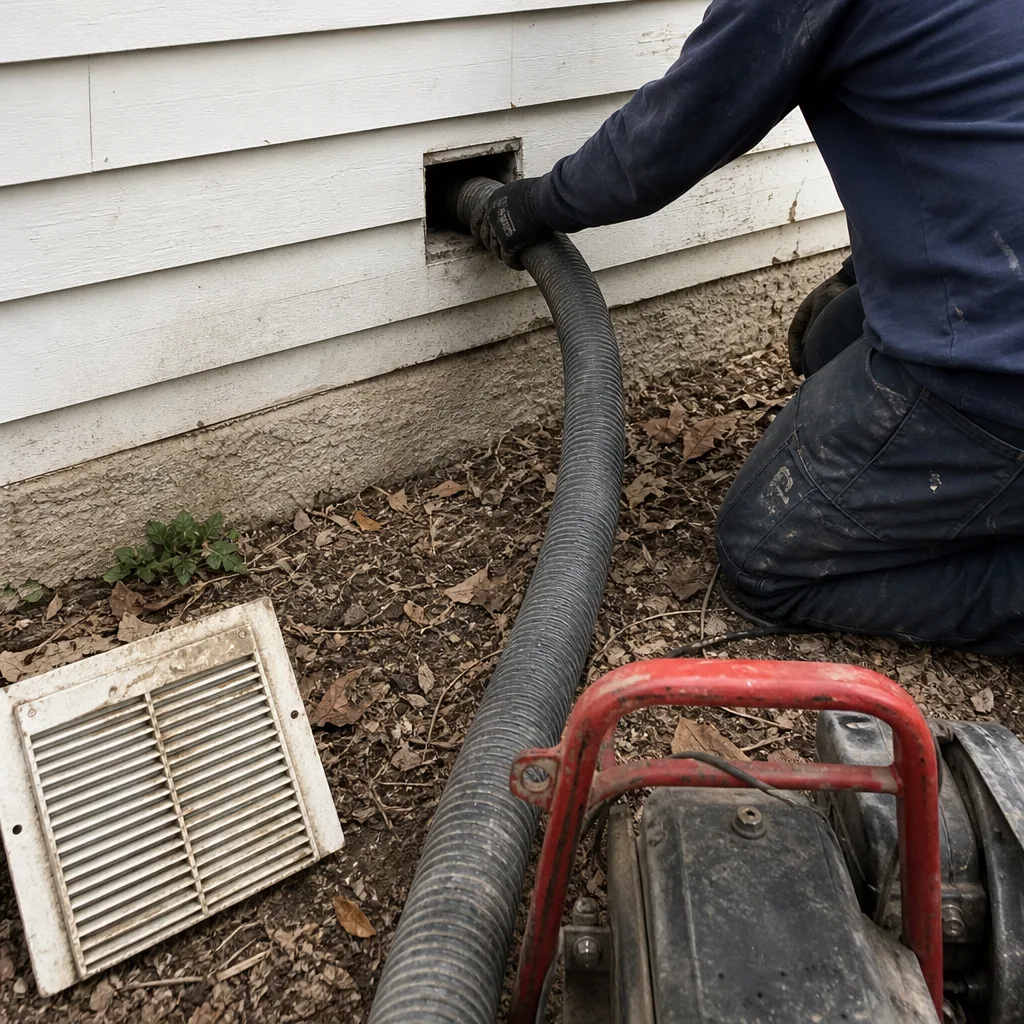 Before
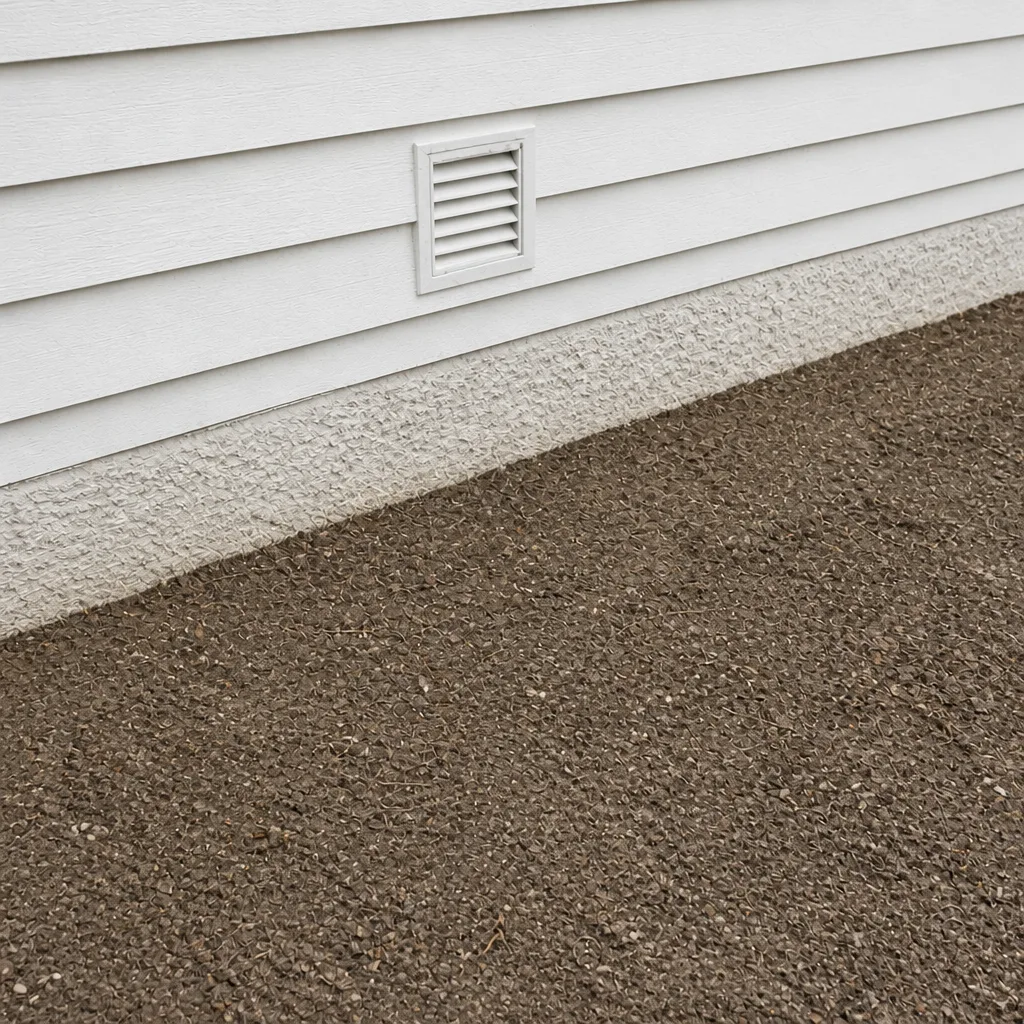 After
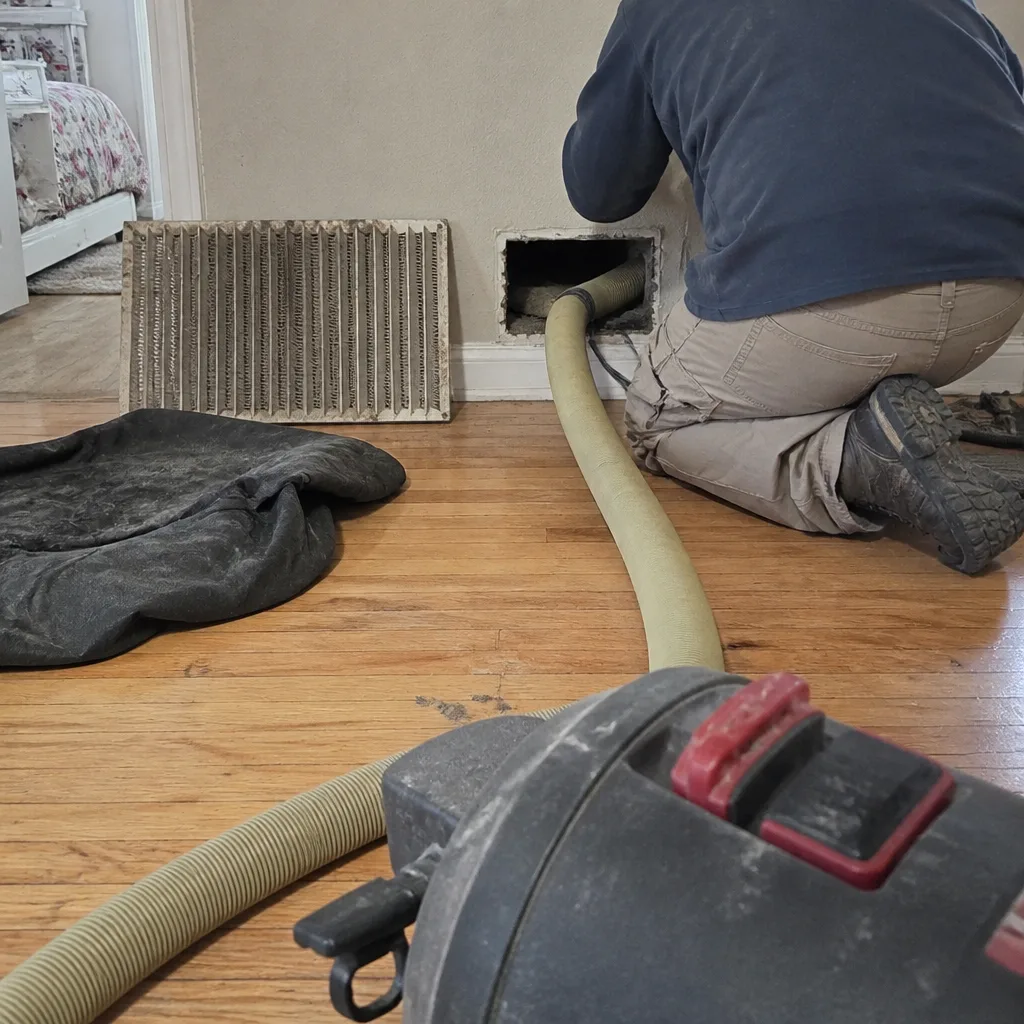 Before
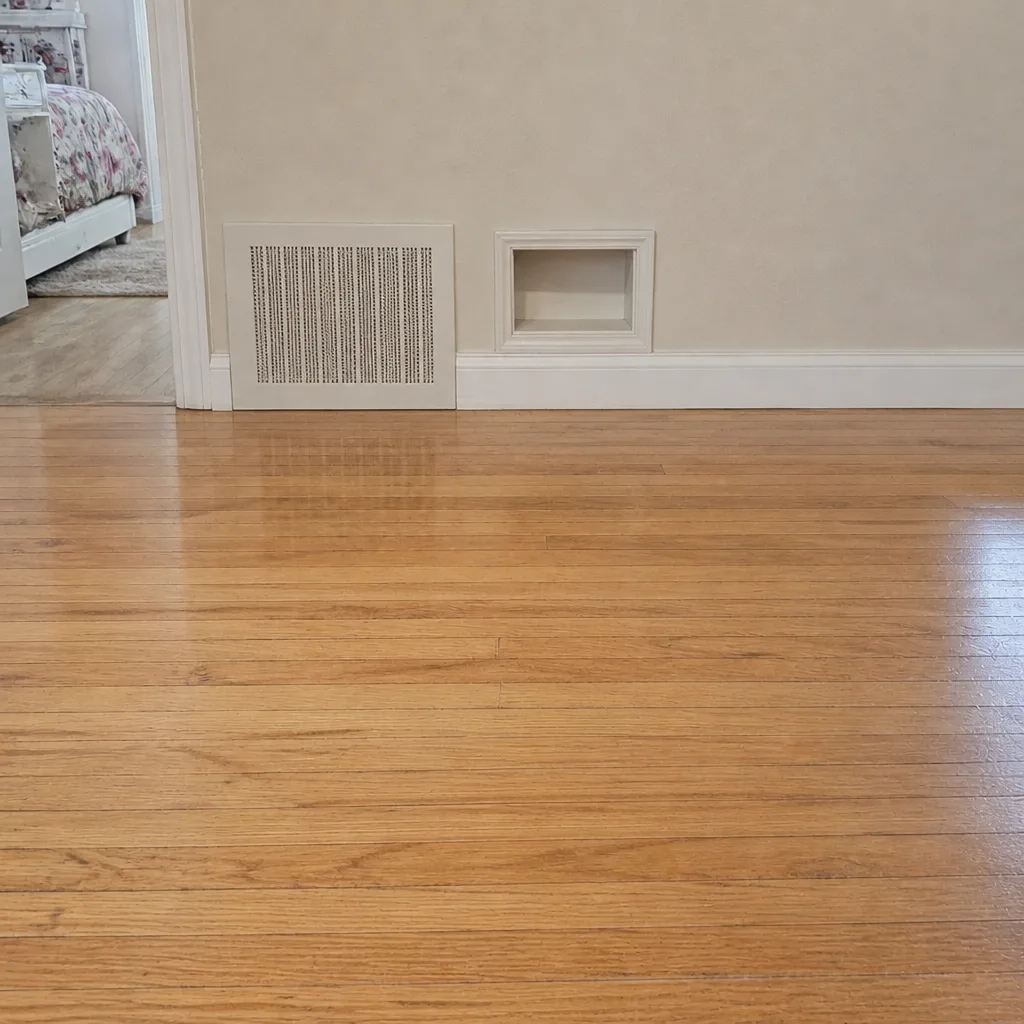 After
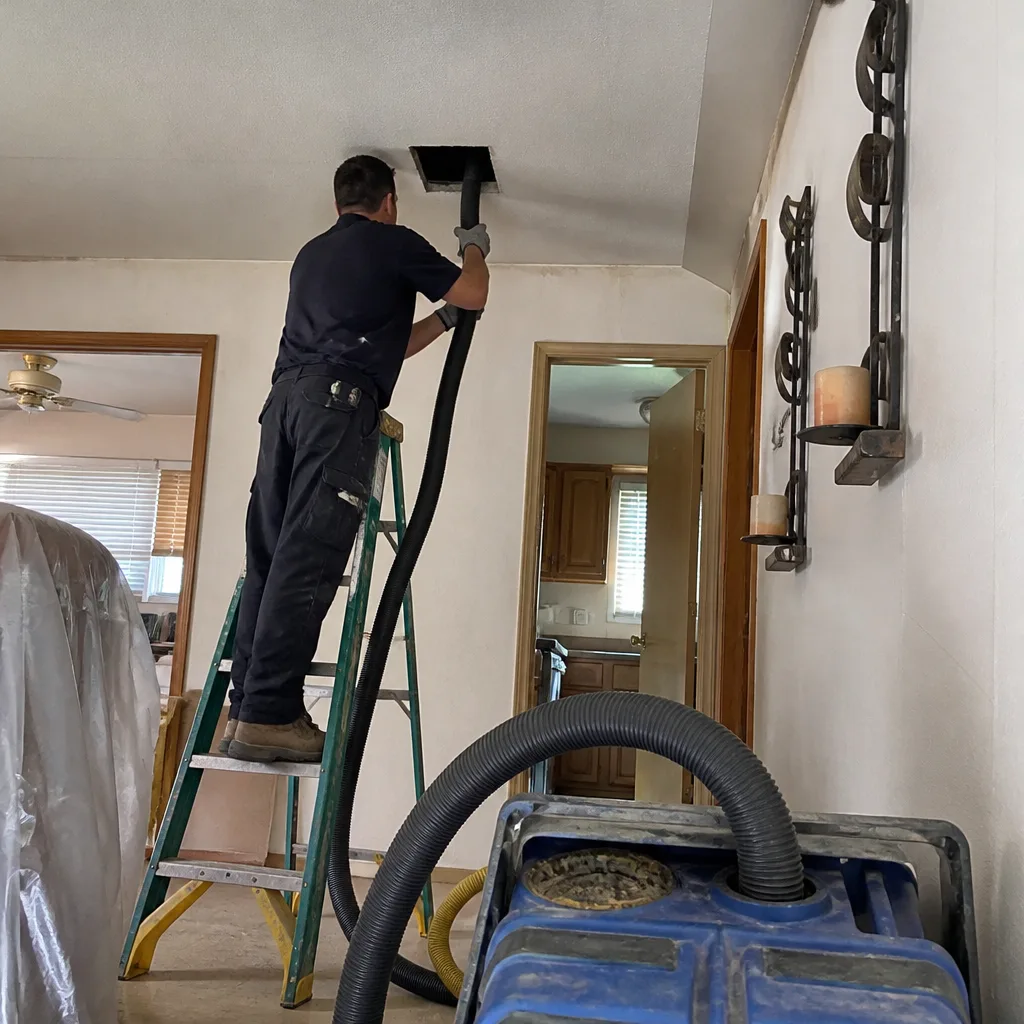 Before
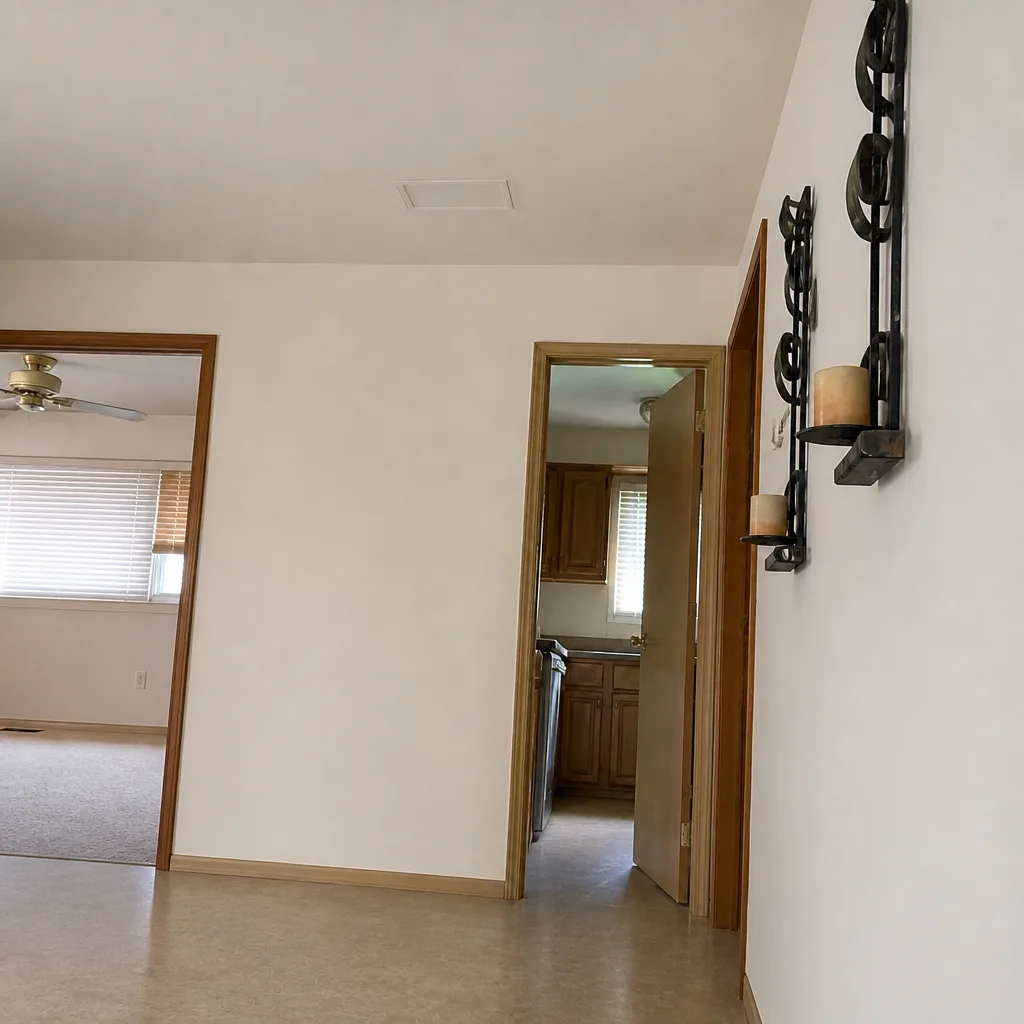 After
When to Call a Professional
Call a professional when your log shows fouling rate accelerating, when airflow at any register drops noticeably, when you smell a persistent odor on HVAC startup, or when your annual walkthrough finds a separated joint or liner damage. Also call if you’ve never had the system inspected. Duct condition in a home you just bought is unknown territory, and Nampa homes vary in duct age and materials. Dryer vent cleaning is a separate call, and it should be at least annual.
Our technicians have up to 13 years of experience, and we use the same HEPA-rated equipment as professional remediation crews, not shop vacuums. Cleaner ducts, safer dryer vents, and repaired ductwork are what a complete airflow inspection delivers. If you’ve been keeping a log, bring it; if you haven’t, we’ll help you start one. Call (833) 842-1697 for a free estimate. We answer 24/7. Fast dispatch from 7am to 7pm, Sunday through Friday.
Frequently Asked Questions
Most Nampa homes do best with a professional cleaning every three to five years, but the right interval depends on how fast your particular system fouls. If your log shows filters loading faster than they used to, or return grille loading is increasing between changes, the interval should shorten. Homes with pets, young children, allergy sufferers, or a prior renovation should be on the shorter end of the range. Call (833) 842-1697 for a free estimate – estimates are free and the written estimate sets the final price.
A monthly checklist takes about five minutes and catches the small issues before they become expensive ones. The four tasks are register airflow, return grille condition, filter condition, and odor after startup. A quarterly check is the minimum, but monthly consistency is what makes the trend in your log useful to a professional.
Cleaning removes accumulated debris from inside the duct system. Repair addresses structural problems that cleaning can’t fix, such as separated joints, collapsed runs, and damaged liner. Duct repair is part of what we do, which means a single visit can deliver both the cleaning and the fix that keeps the cleaning effective. Call (833) 842-1697 for a free estimate.
Ask for before-and-after photos of your own ducts, which any credible operator provides, and compare them to what you see in your log. A cleaning that leaves register flow unchanged and return grille loading identical to before is a cleaning worth questioning. Our written estimate sets the final price, and our inspection documents the before-and-after state of your ducts.
Yes. Late-summer smoke settles in the Treasure Valley and loads the filter much faster than normal conditions. Once the smoke clears, replace the filter, inspect the return grille, and note the change in your log. If this pattern repeats across multiple years, consider filtration upgrades from Honeywell or Aprilaire so the system handles smoke season without overloading.
No. A dryer works fine right up until it doesn’t, and the lint that accumulates in the vent run is a fire risk independent of dryer performance. Dryer vent cleaning is a standalone safety service we offer precisely because it’s the duct task most likely to be skipped. Call (833) 842-1697 for a free estimate.
The Bottom Line
A duct system stays clean because someone is watching it, not because the filter got changed. The monthly checklist catches register airflow drops, return grille loading, filter rate-of-fouling, and odor changes. The quarterly checks time themselves to Nampa’s fall dust and late-summer smoke seasons. The annual walkthrough catches joint separations and liner damage before they undo a cleaning. Document it all, and a professional can read the trend, not just the snapshot. Duct repair capability matters as much as cleaning equipment, because cleaning restores the system once and repair keeps it clean. Call (833) 842-1697 for a free estimate if your log has started to show something you want looked at.
Written by the team at Nampa Duct Cleaning.